Cloud all the time…. We know that developers love the cloud, and serverless is the next step in relieving the pain associated with managing infrastructure. Sure, serverless doesn’t mean there aren’t any servers - there are - we (as devs) just dont need to worry about that underlying infrastructure and we can get on with it.
Azure Functions is a serverless capability offered by Microsoft Azure. It’s a really cheap way of executing bits of code from anywhere. Really useful stuff if you just want a bit of discrete code that executes something quickly.
Azure functions can be triggered in a number of ways:
- Using CRON expressions as part of a schedule trigger
- Changes to Azure blob storage containers
- Changes to an Azure queue
- Azure Service Bus messages
- HTTP triggers
- etc…
Lets get started with a simple Azure Function to demonstrate. (I’ll use Visual Studio in this example)
I want to create a simple application that returns some weather data for Melbourne, Australia. I’ve create a free account with https://openweathermap.org and used the API key to make calls to their endpoint.
The complete code for this can be found here
-
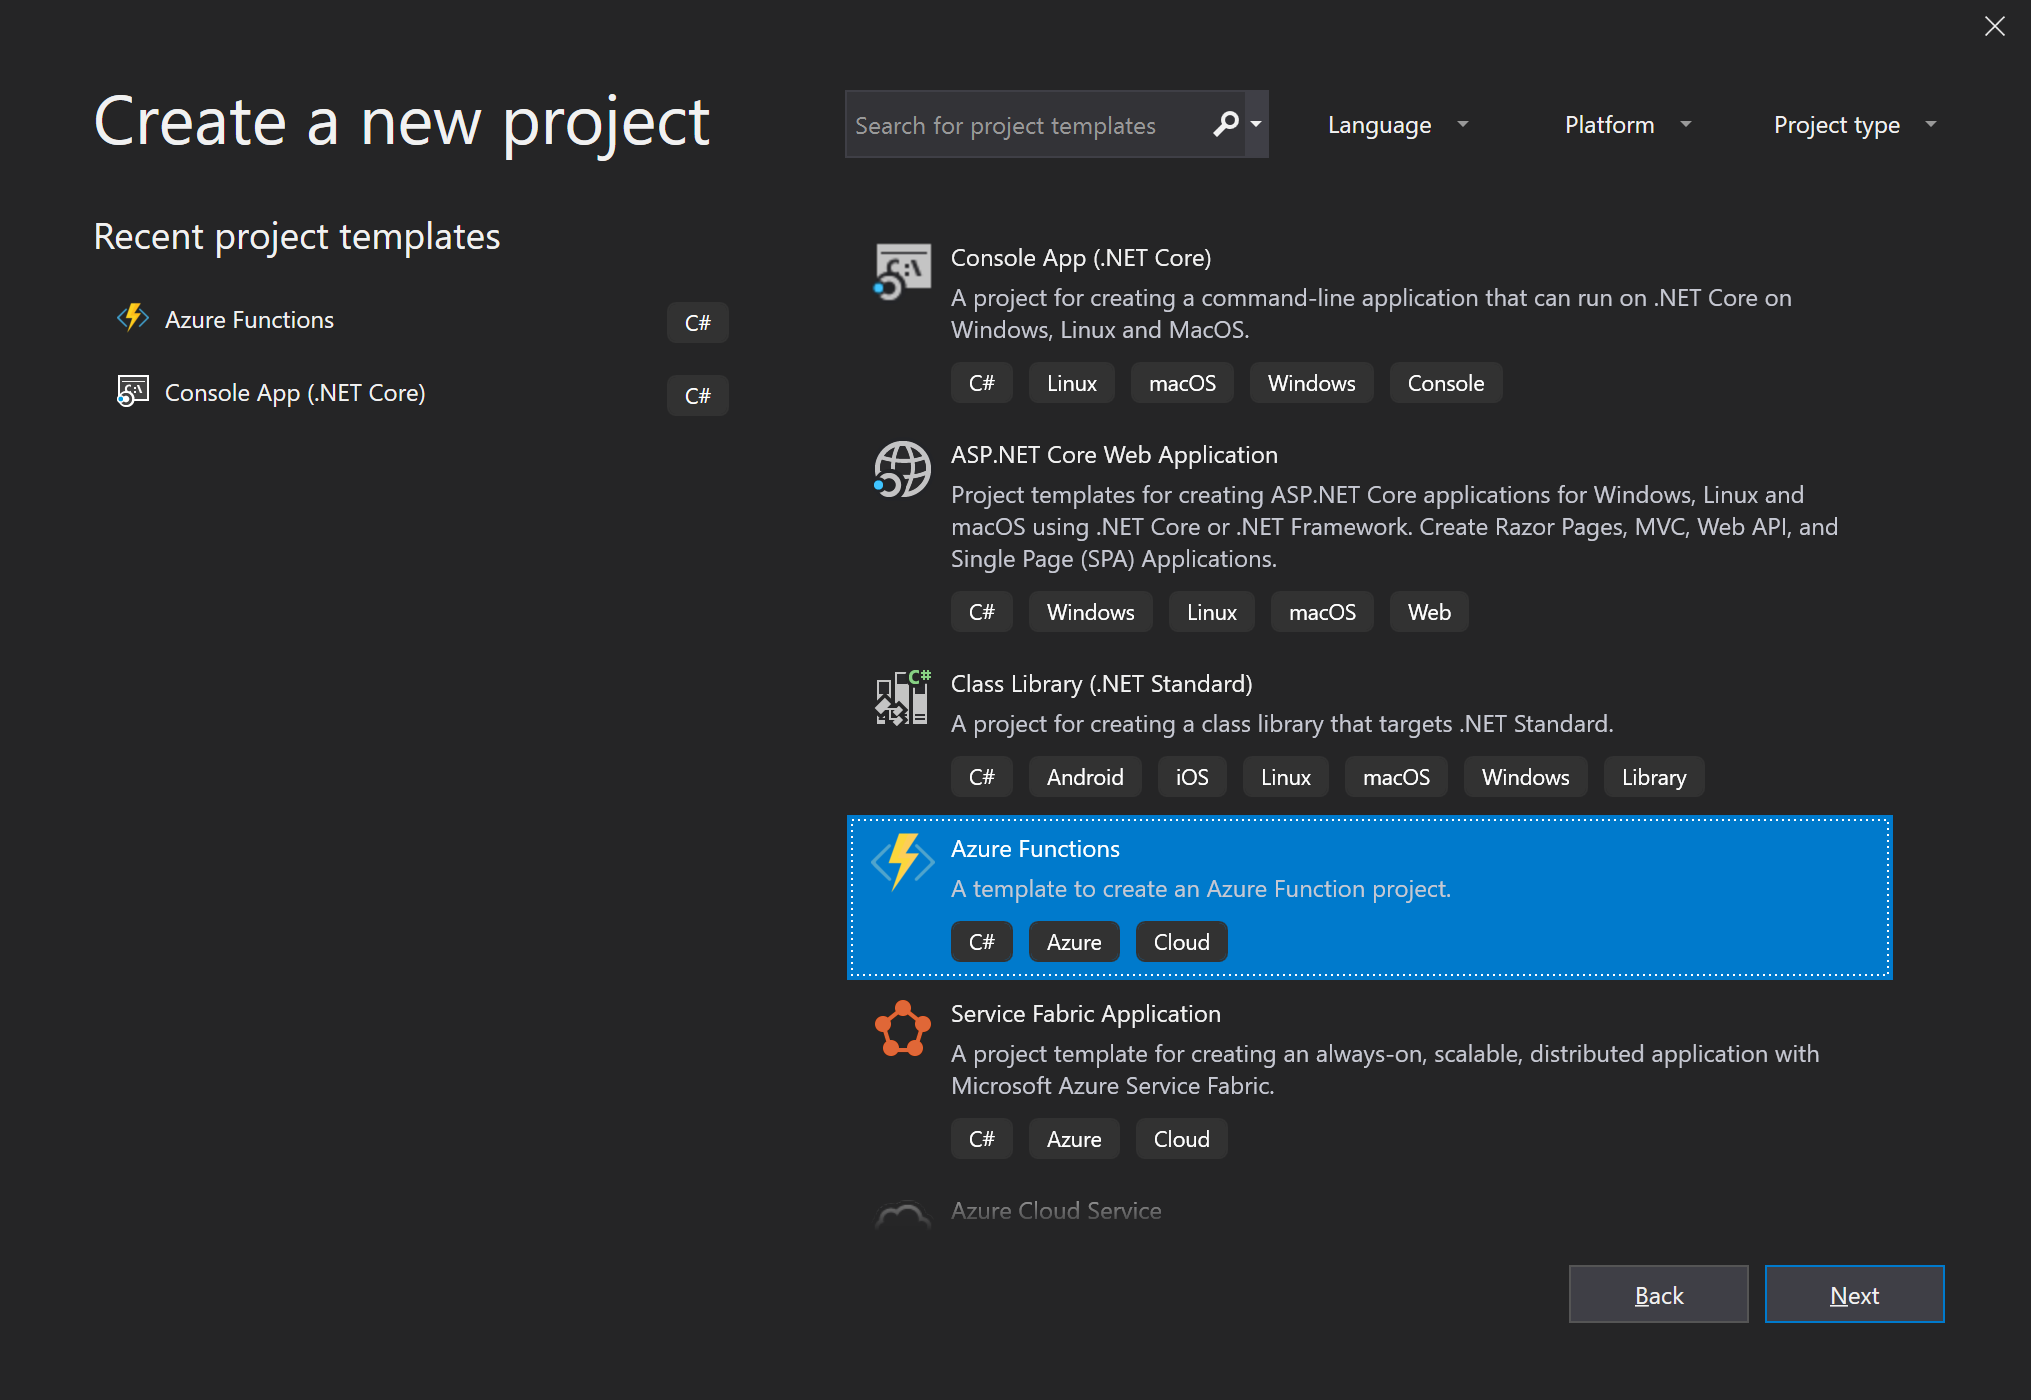
Create a New Project and select Azure Functions
-
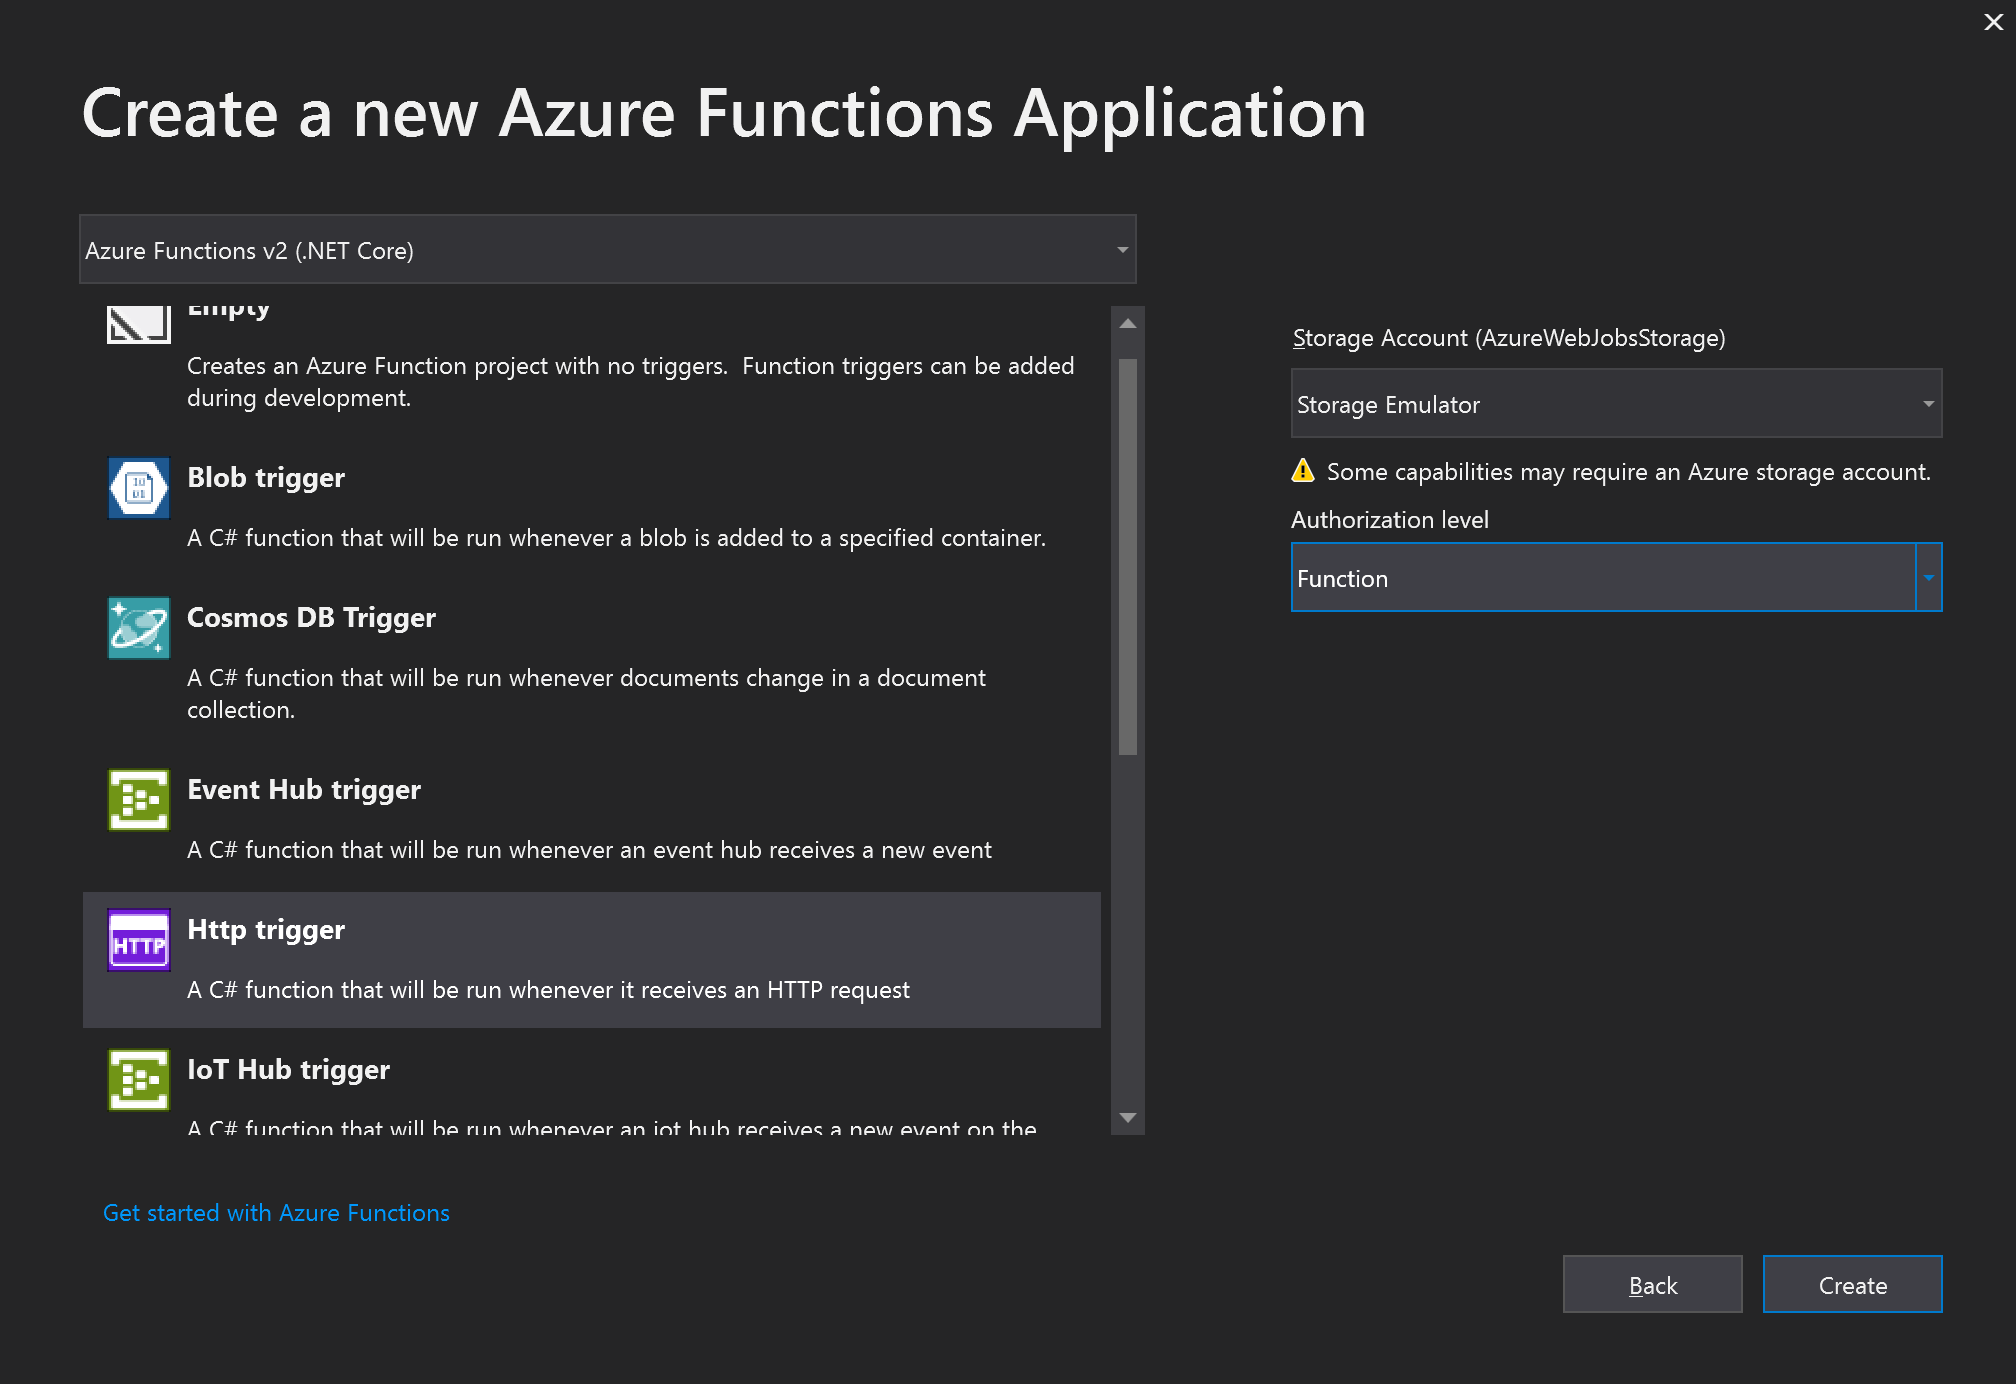
I’ll create a simple HTTP triggered function
-
You’ll probably want to get rid of the default
Function1.cs- but useful to have as a reference when starting. I’ve created a class calledWeatherwith a function namedGet-Weather.
        namespace Azure_Function_Weather_Demo
            {
                public static class Weather
                {
                    [FunctionName("Get-Weather")]
                    public static async Task<IActionResult> Run(
                        [HttpTrigger(AuthorizationLevel.Function, "get", "post", Route = null)] HttpRequest req,
                        ILogger log)
                    {

                    }
                }
        }
This functions will accept a post and get request, and things like HttpRequest and ILogger are injected into the function.
- When creating an Azure function project, a
local.settings.jsonfile is created. This should be used for local development settings (i.e. Don’t check this into Source Control). I’ve added a few settings which include the city I want to get weather for as well as the API key provided by the downstream service:"WeatherLocation": { "City": "Melbourne", "Country": "AU" }, "ApiKey": "xxxxxxxxxxxxxxxxxxxxxxxxxxxxxxxx" - Reading configuration values is relatively straight forward. However, when using Azure Functions v2, be sure to use
ConfigurationBuilderinstead ofConfigurationManager(More details here)var config = new ConfigurationBuilder() .SetBasePath(context.FunctionAppDirectory) .AddJsonFile("local.settings.json", optional: true, reloadOnChange: true) .AddEnvironmentVariables() .Build();You’ll notice that
SetBasePathusescontextto determine the application directory during execution and you may be wondering where thiscontextcomes from. Easy, just include this in theRunfunctions parametersExecutionContext context. So, it should now look like this:public static async Task<IActionResult> Run( [HttpTrigger(AuthorizationLevel.Function, "get", "post", Route = null)] HttpRequest req, ILogger log, ExecutionContext context)
After this, accessing configuration values is trivial.
        var apiKey = config["ApiKey"];
        var city = config["WeatherLocation:City"];
        var country = config["WeatherLocation:Country"];
- Finally, construct a uri using this information and make the request, returning the result.
var weatherUrl = $"https://api.openweathermap.org/data/2.5/weather?q={city},{country}&appid={apiKey}"; var client = new HttpClient(); var response = await client.GetAsync(weatherUrl); var content = await response.Content.ReadAsStringAsync(); return new OkObjectResult(content); - The returned result looks like this:
{"coord":{"lon":144.96,"lat":-37.81},"weather":[{"id":802,"main":"Clouds","description":"scattered clouds","icon":"03n"}],"base":"stations","main":{"temp":283.06,"pressure":1015,"humidity":81,"temp_min":280.93,"temp_max":285.37},"visibility":10000,"wind":{"speed":6.2,"deg":350},"clouds":{"all":40},"dt":1560381089,"sys":{"type":1,"id":9554,"message":0.0063,"country":"AU","sunrise":1560375174,"sunset":1560409643},"timezone":36000,"id":2158177,"name":"Melbourne","cod":200}
And that’s it!